In this tutorial I will work with the HDRP, high quality graphics module in Unity. Previous part of the tutorial series is here.
Importing HDRP
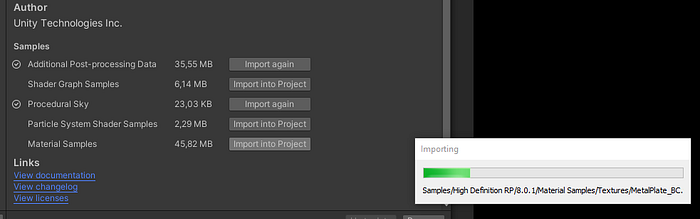
Install the HDRP package
 Import the packages you want:
 Go through the install wizard. Install the configuration package.
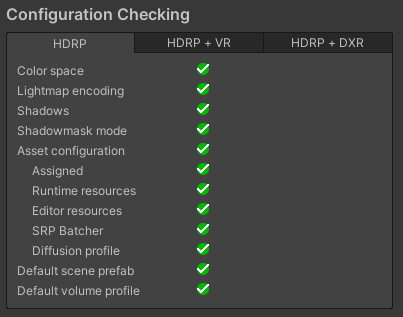
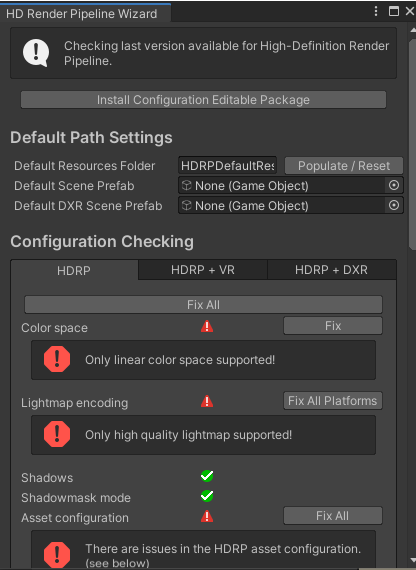 Fix all:
 Reimport all the assets ( Assets | Reimport all ):
After Unity restarts you will see the new scene. If you had the material shaders set to Unity/Standard, it should fix the colors without issue.
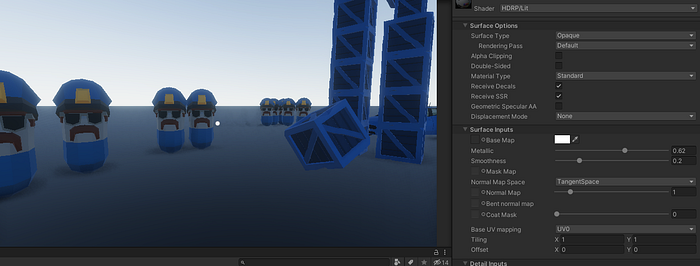
The scene will now be using HDRP/Lit shaders, so the scene will look monochromatic, like this:
Reimport all the assets ( Assets | Reimport all ):
After Unity restarts you will see the new scene. If you had the material shaders set to Unity/Standard, it should fix the colors without issue.
The scene will now be using HDRP/Lit shaders, so the scene will look monochromatic, like this:
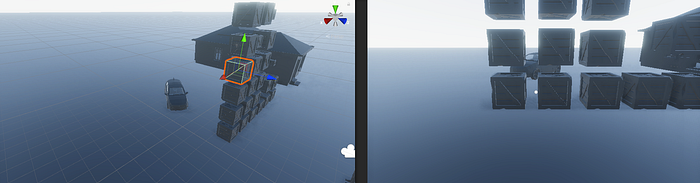 To quickly fix it, just increase the metallic surface of the materials to ~0.6. That way the textures will get the original colors. In my case I plan to convert the project to black and white in post processing, so I don’t care about the exact colors the original textures had at the moment. However, if you need the right texture colors, you will need to tinker with the normal maps and mask map switches.
Using HDRP
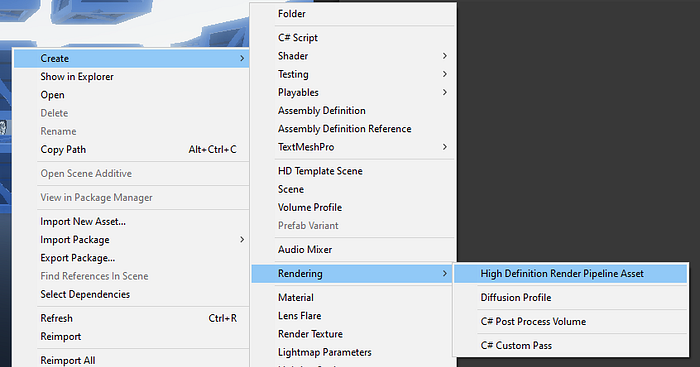
Then and new HDRP asset:
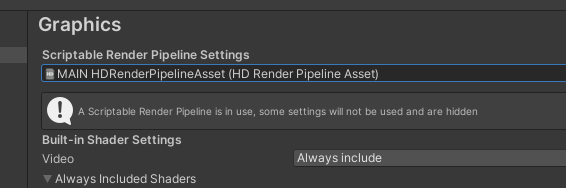
 Go to Edit | Project Settings | Graphics and assign the HDRP asset, like this:
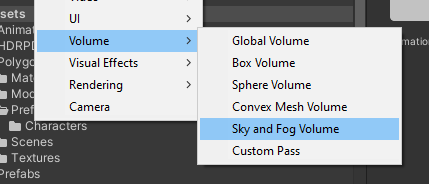
 Good practice is to create a new game object solely for the post-processing purposes:
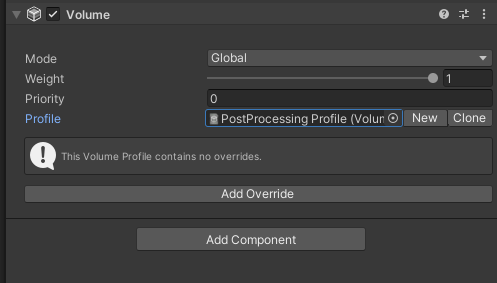
 Add Volume component to it and add a new profile to it:
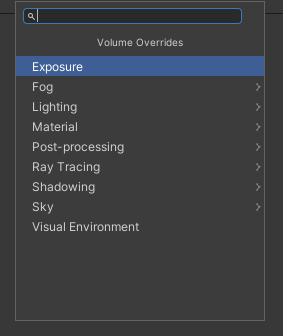
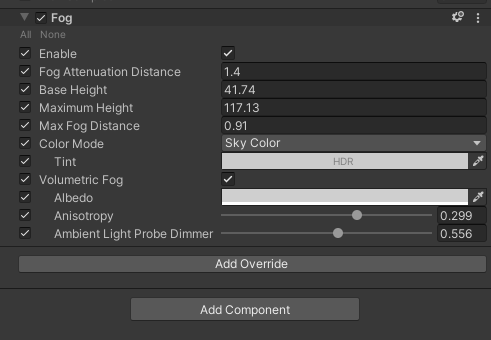
 Add any effect you need. I will add some post-processing filters and Fog.
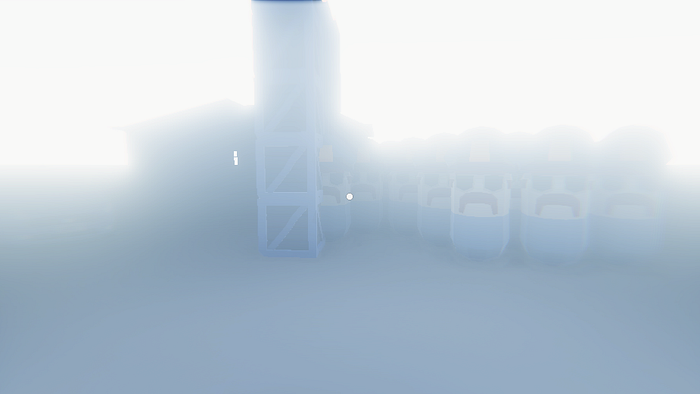
 The volumetric fog was easy to add, but it still looks like a sample scene. No extra visuals.
Local Volumes
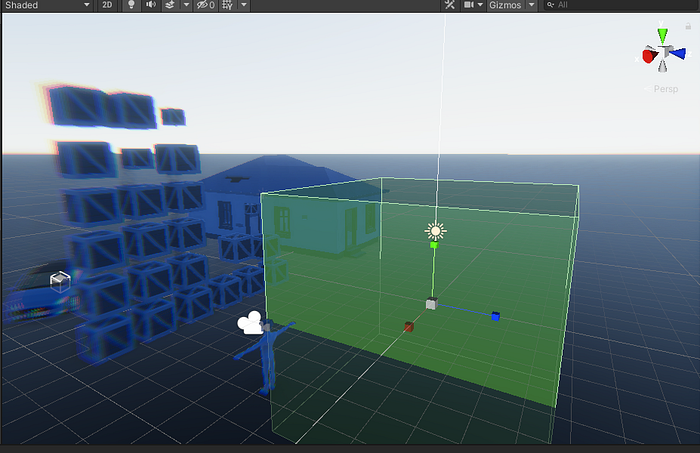
If you need to use Volumes, you can use the individualy and edit their bounding boxes to your own needs. That way the fog won’t be global, but local only to the volume (when your camera is inside the volume):
 If you add a collider to it, it will be easier to set the bounds visually:
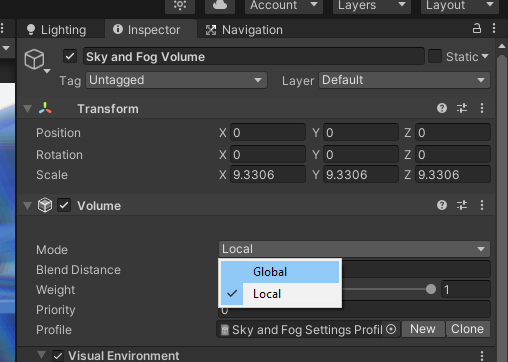
 Change the Volume Mode to Local:
 I changed the tint and zenith colors to red. When I enter the volume, the post-processing changes completely.
 The local volume changes the effects when entered into