In the last part of this gamedev series we will be making the scene look good. We will add better models, play with atmosphere and tweak the overall game feel.
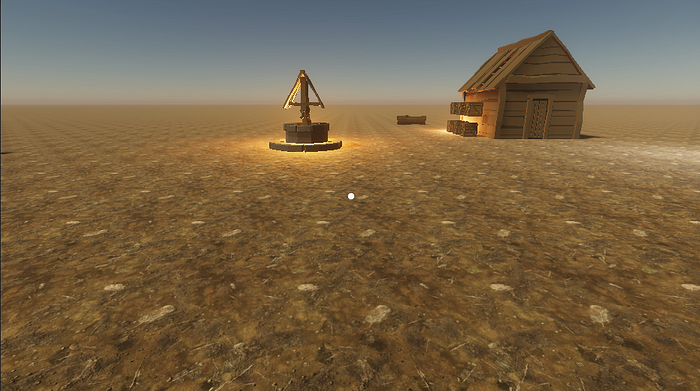
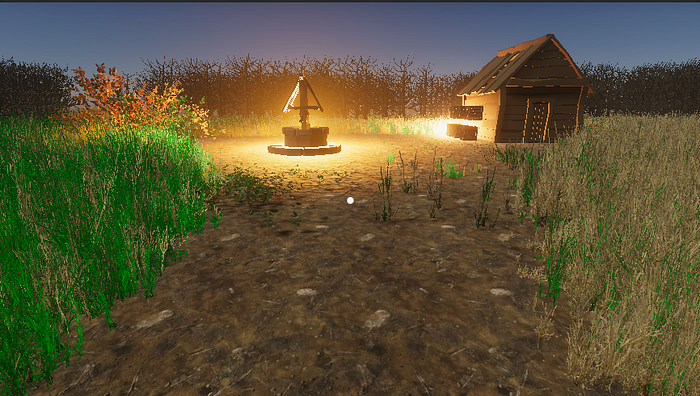
Essentially, I will be creating this:
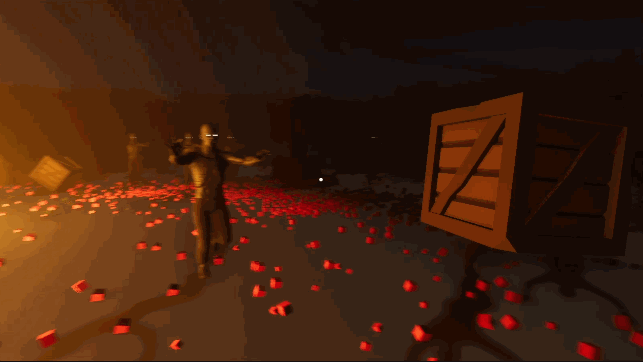 Final game
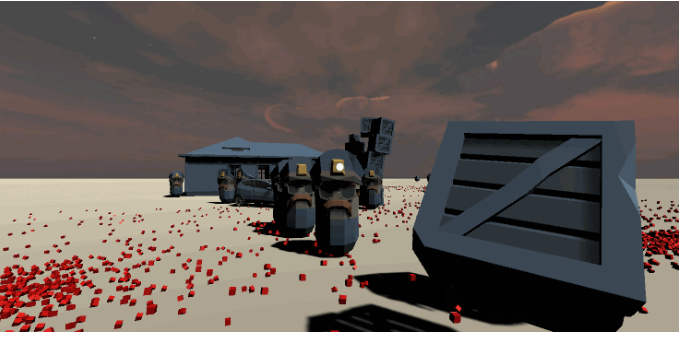
..from this:
Final game
..from this:
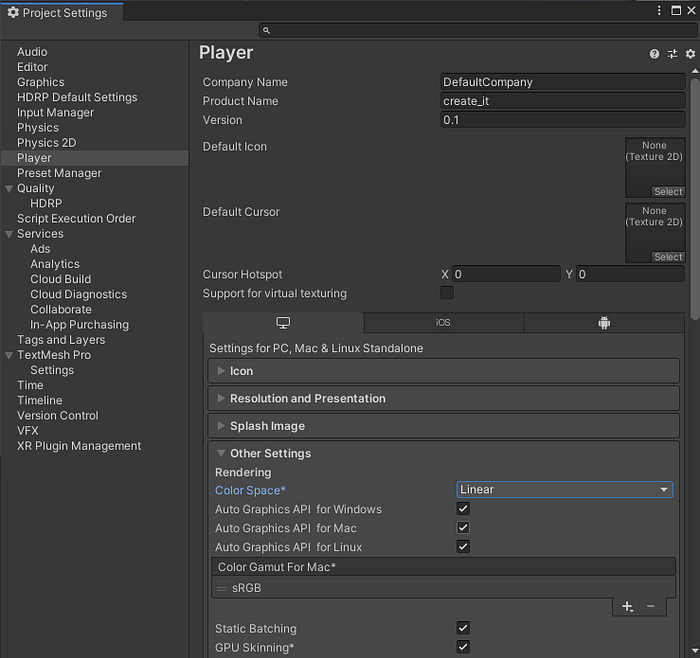
 First set the Color space to Linear in the Edit | Project Settings. It will make the colors look more natural.
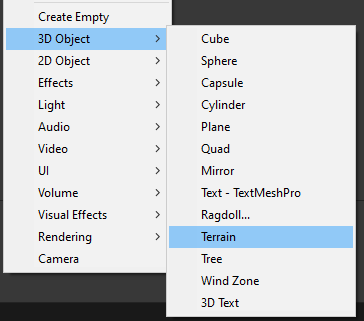
 Delete the Plane object and add a Terrain instead.
 The following part is gonna take quite some time and it will be camera-movement heavy, so we better use some shortcuts and camera manipulation techniques for easier 3D world manipulation.
Camera movement
You can hold right mouse button any use WASD keys to fly through the scene (don’t forget to set the camera speed to high enough value so you are visibly moving)
 Also, if you have the Camera object selected and use Align with view (Ctrl+Shift+F), your camera will inherit your current scene view.
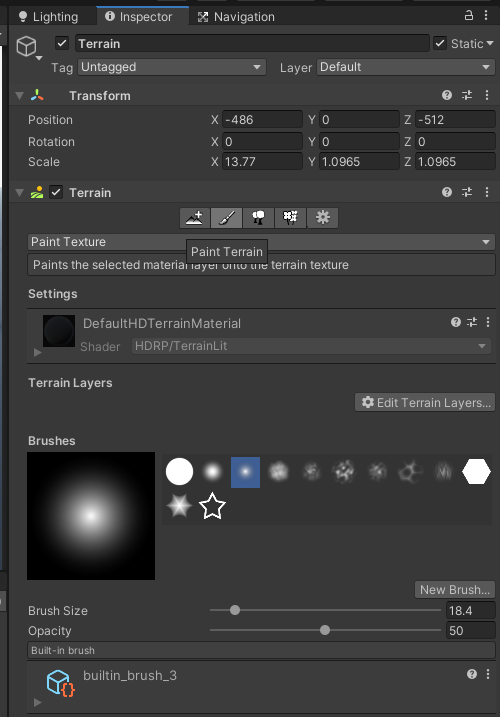
Terrain painting
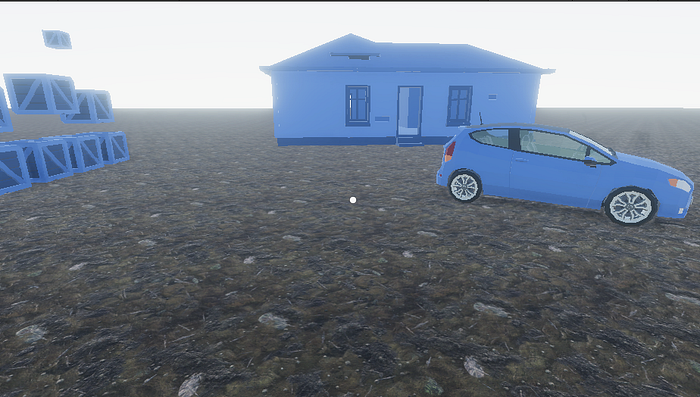
Select the Terrain object and then pick the Paint terrain option. Set it to paint texture.
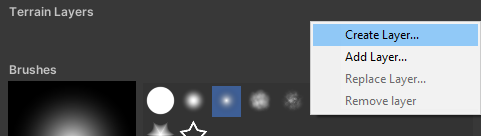
 Create a new layer:
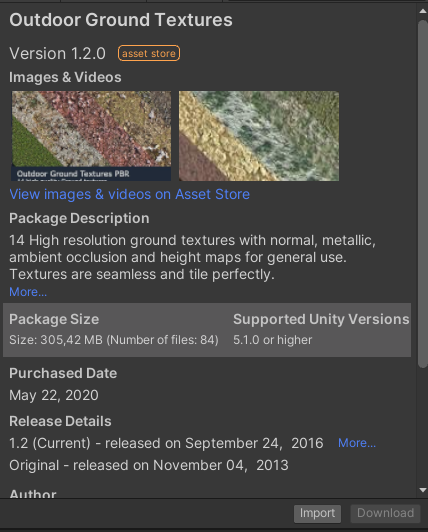
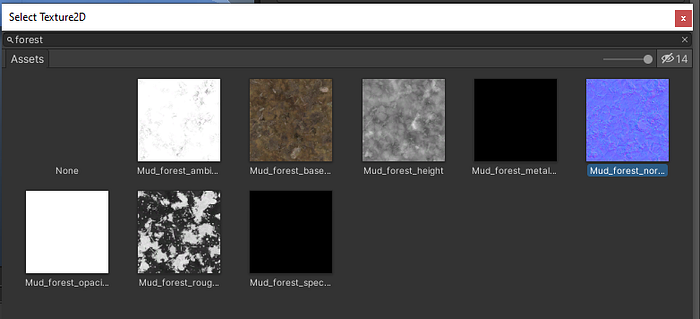
 For the ground textures, download some from the Asset store (you can find free ones):
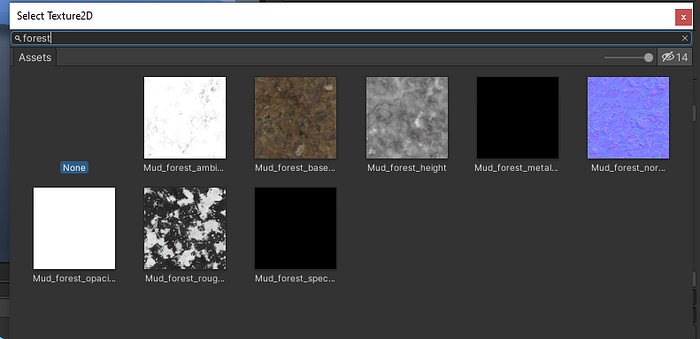
 Then, in the create layer, select a material you imported:
 Then click on the new layer and add a normal map too:
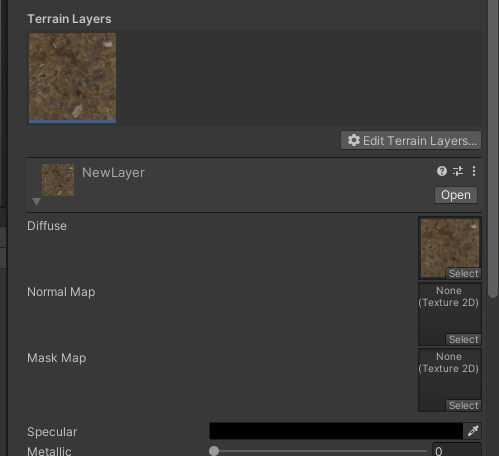
 If you are using HDRP, change the metallic to match the color. Then you should see the terrain properly:
New models
So far I’ve been using placeholder models from the Synty Polygon pack. It’s time to change that. I will import some proper paid models. You can choose any models you want, I will just randomly pick the models I find fitting for the scene I want to create (fog, dark, horror like, zombie tower defense).
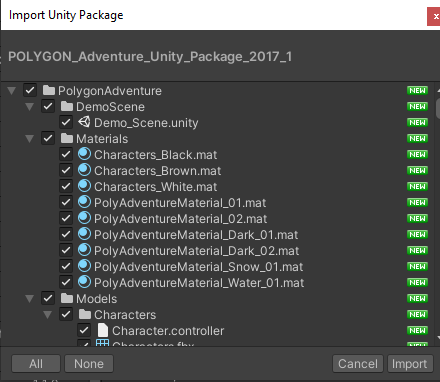
I am gonna use the Polygon adventure pack.
 I replaced most of the placeholder models, including the enemy prefab and downloaded new zombie models for the enemy.
Atmosphere
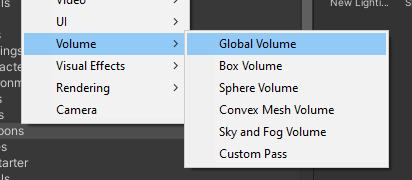
If you followed the previous parts of the tutorial, you should have HDRP up and ready to go. So, now you can import a Sky and Fog Volume.
 It immediately changes the look of the scene. Tinker with the settings until you are satisfied with the look:
 For documentation for the Physically Based Sky, visit:
Physically Based Sky simulates a spherical planet with a two-part atmosphere which has an exponentially decreasing…
docs.unity3d.com
Set the Directional Light’s intensity to 0.07 in the scene for a night-time scene:

 I am gonna add some trees and then set the fog to finish the atmosphere. But first the trees, so I can blend it better visually.
More terrain, grass and trees
We gonna paint some grass now.
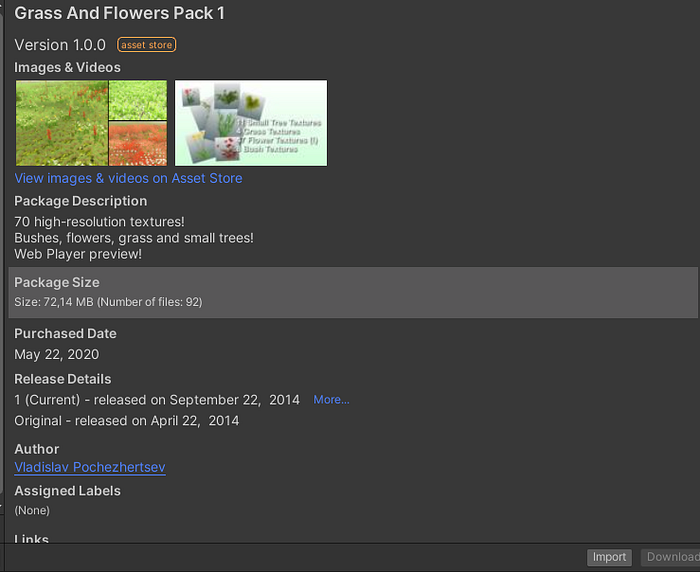
Download Grass and flowers pack:
 In the Terrain, choose paint details.
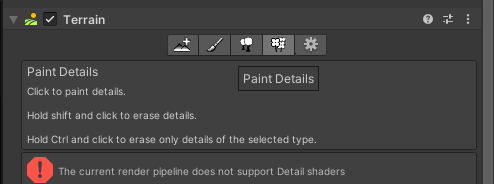 Oh wait. What is that?
Error: “current render pipeline does not support detail shaders”.
Turns out that HDRP doesn’t yet support detail shaders. After a bit of digging on the web and asking around, I found that the grass from the Book of the Dead should work.
Oh wait. What is that?
Error: “current render pipeline does not support detail shaders”.
Turns out that HDRP doesn’t yet support detail shaders. After a bit of digging on the web and asking around, I found that the grass from the Book of the Dead should work.
 I am gonna download the demo project:
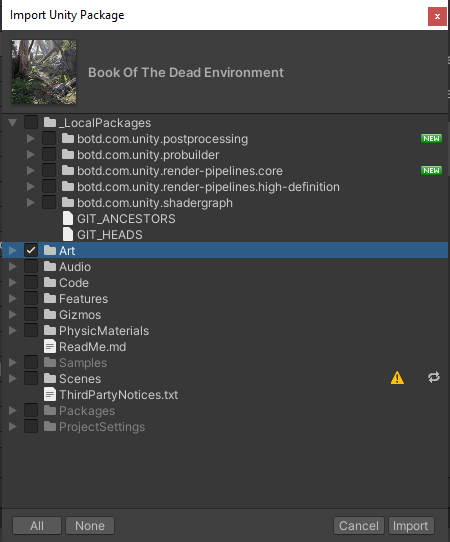
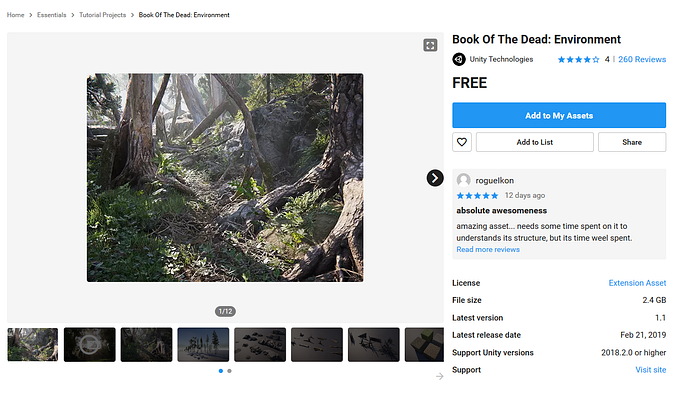 Import the Art folder only (import really ONLY the Art folder, the project is from 2018 and it will mess up your whole project if you import it all. I had to checkout back to a previous git commit to get rid of the mess it created).
 Select Paint tress, as we are gonna use the tool to paint grass (detail painting is not supported in HDRP yet).
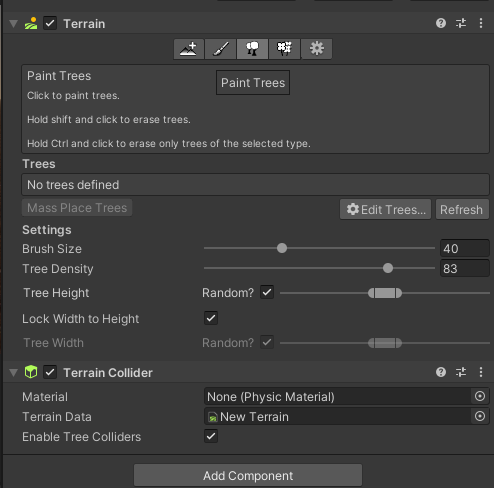 Pick a grass type you like (Edit trees | Select prefab)
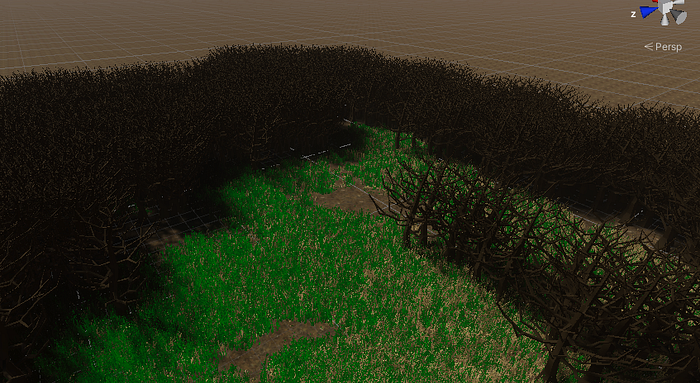
 And paint the grass, like you are Bob Ross!
 Use the same method for painting trees, as the tool is primarily for that.
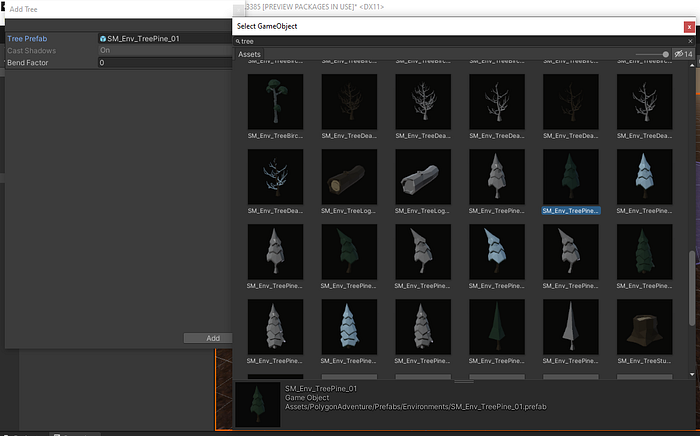 And just paint trees!
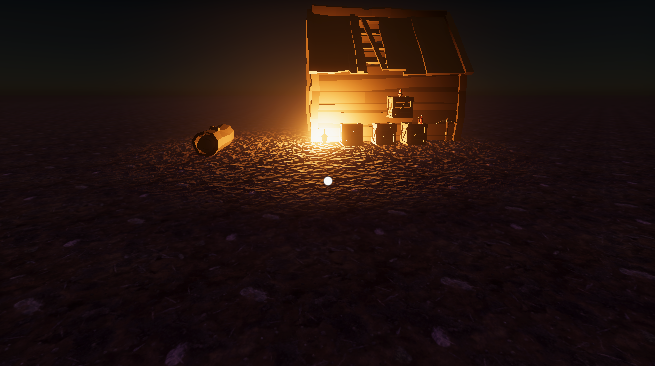
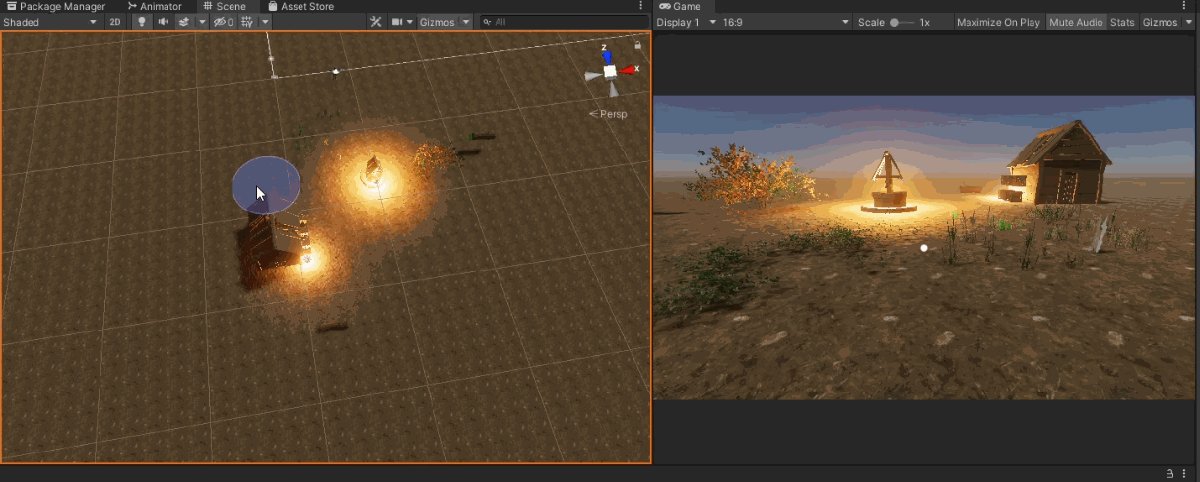
 Now I turn the light back off, for it to be a night horror scene. Only the two lanterns are casting light.
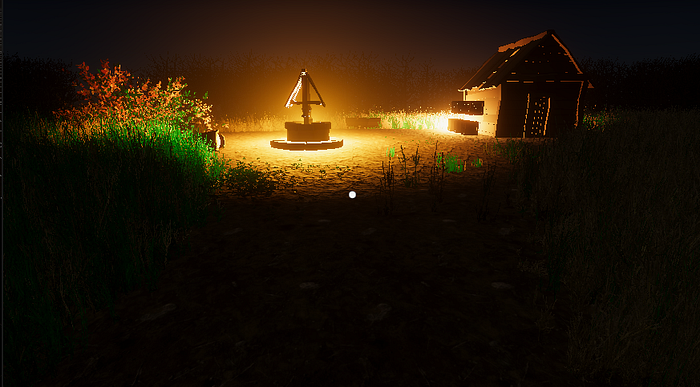 Now the scene looks like this when I play it:
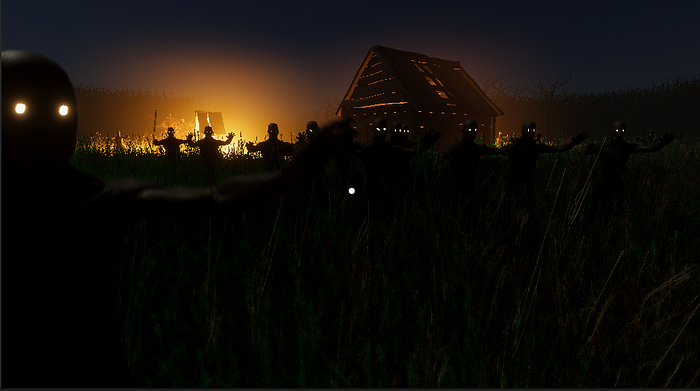 And that’s it!
Everything is ready, the game is done, and so is this tutorial series. I hope you enjoyed it. I will keep making game development articles in the future, so follow to know when I create a new one!
Final game
Also follow my twitter for more content like this:
And that’s it!
Everything is ready, the game is done, and so is this tutorial series. I hope you enjoyed it. I will keep making game development articles in the future, so follow to know when I create a new one!
Final game
Also follow my twitter for more content like this:
The latest Tweets from Jan Jilecek (@janjilecek). INTP,indie game developer,director,writer,sysadmin, photographer. I…
twitter.com If you are just starting to learn how to develop games, you can follow my udemy course on Unity development for beginners: